No products in the cart.
Menu
Categories
Menu
Categories
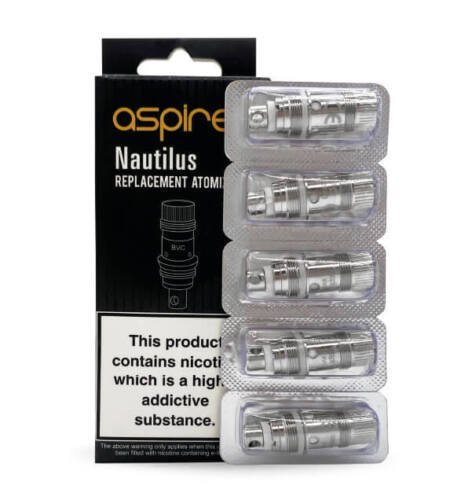
Aspire Nautilus K3 Coils 1.6 1.8 0.7 ohm
₤5.99 Original price was: ₤5.99.₤4.99Current price is: ₤4.99.
18 people are viewing this product right now
Products
-
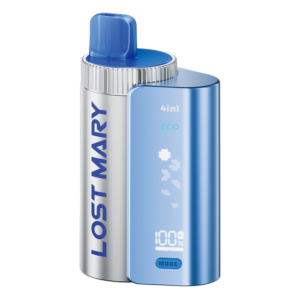
Lost Mary 4-in-1 Prefilled Vape Kit | Wholesale | UK
₤54.99Original price was: ₤54.99.₤26.99Current price is: ₤26.99. -
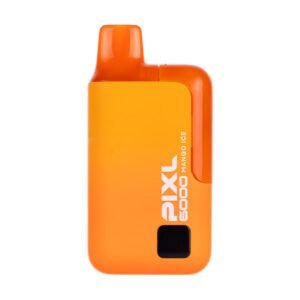
PIXL 6000 Big Puff Disposable Vape | Best Price | UK
₤59.99Original price was: ₤59.99.₤26.99Current price is: ₤26.99. -
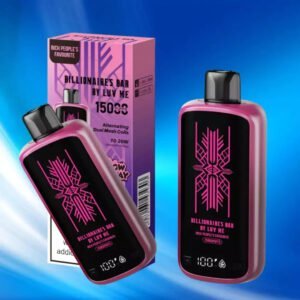
Billionaires Bar 15000 Puffs Disposable Vape | Best Prices | UK
₤119.99Original price was: ₤119.99.₤66.99Current price is: ₤66.99. -
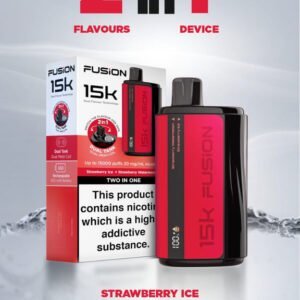
2 IN 1 FUSION 15K PUFFS DISPOSABLE VAPE POD KIT | Best Device | Best Price | UK
₤119.99Original price was: ₤119.99.₤58.99Current price is: ₤58.99. -

Platinum Bar 15000 Puffs Disposable Vape | Best Device | Best Price | UK 2 mg/ml
₤119.99Original price was: ₤119.99.₤69.99Current price is: ₤69.99.
Introduction to Aspire Nautilus K3 Coils
The Aspire Nautilus K3 is a prominent tank system that has garnered significant attention in the vaping community for its compact design and high performance. Known for its reliable functionality and excellent flavor production, the Nautilus K3 serves both novice and seasoned vapers. At the heart of this tank’s operation are replacement coils, essential components that play a crucial role in its overall performance.
Replacement coils are integral to the functioning of the Nautilus K3 tank, as they directly affect the quality of the vapor produced. Vaping is not just about inhaling vapor; it involves a combination of factors including flavor, throat hit, and vapor density. As the coil heats up the e-liquid, it vaporizes it for inhalation, and over time, these coils can wear out due to constant use. Regularly replacing the coils ensures that the tank maintains optimal performance, delivering a satisfying vaping experience with every puff.
The market offers a variety of coil types compatible with the Nautilus K3, each designed to cater to different vaping preferences. From traditional sub-ohm coils that provide denser vapor to higher resistance options that are tailored for mouth-to-lung (MTL) inhalation, users can choose coils based on their individual needs. Additionally, the importance of selecting genuine Aspire replacement coils cannot be overstated; authentic coils assure the integrity of the materials used, which is vital for achieving the best flavor and vapor production. Using counterfeit or third-party coils may compromise the performance of the Nautilus K3, resulting in an unsatisfactory experience. Understanding the role and significance of these coils is essential for any vaper looking to enhance their usage of the Aspire Nautilus K3 tank.
Types of Aspire Nautilus K3 Replacement Coils
The Aspire Nautilus K3 tank is compatible with a variety of replacement coils, designed to cater to different vaping preferences and styles. Understanding the types of coils available is essential for vapers to optimize their experience. The main types of replacement coils vary by resistance level, material composition, and intended use in either mouth-to-lung (MTL) or direct-to-lung (DTL) vaping.
Firstly, the 1.8-ohm coil is specifically designed for MTL vaping, offering a tighter draw similar to traditional cigarettes. Made from Kanthal wire, it allows for lower wattage settings, ranging from 10 to 14 watts. This type of coil provides a flavorful experience while ensuring smooth airflow, making it ideal for vapers who prefer a more controlled vaping experience.
Next, the 1.6-ohm coil also caters to MTL enthusiasts but features a slightly different design. It is compatible with a wattage range of 3.0 to 6.0 volts, offering a similar sub-ohm experience with improved vapor production. This coil is particularly suited for vapers looking to experiment with a slightly looser draw while maintaining a plush flavor profile.
For those who lean towards DTL vaping, the 0.7-ohm coil shines with its lower resistance and higher wattage capability, ranging from 18 to 23 watts. The stainless steel construction of this coil enhances durability and enhances flavor at higher temperatures, making it a favorite among cloud chasers and those who like a more intense vaping experience.
Lastly, the 1.2-ohm coil serves as a middle ground, offering versatility in both MTL and DTL vaping. This coil allows vapers to explore different styles without compromising on flavor or vapor production. Each coil type maintains compatibility with the Aspire Nautilus K3 tank, ensuring that vapers can seamlessly switch between them based on their vaping preference.
How to Replace Nautilus K3 Coils
Replacing the coils in your Aspire Nautilus K3 tank is a straightforward process that can enhance your vaping experience significantly. To perform this task efficiently, ensure you have the right tools on hand, including a small pair of pliers or tweezers, and paper towels for any spills. Before beginning, remember to turn off your device and ensure that it has cooled down to avoid burns.
First, it is crucial to disassemble the tank. Carefully unscrew the top cap from the Nautilus K3, which allows you access to the coil. Make sure to do this over a sink or a surface that can be easily cleaned, as residual e-liquid may escape during the process.
Next, grasp the old coil using your pliers or tweezers and gently pull it out. If the coil is stuck due to wear or residue build-up, a bit of twisting can help loosen it. Once the old coil is removed, dispose of it appropriately. With the old coil out, thoroughly clean the base of the tank using a paper towel. Ensure no leftover e-liquid or debris remains, which could impact the performance of your new coil.
Your next step involves preparing your new coil. Before installing it, it is essential to prime the coil to prevent dry hits and ensure optimal flavor. To do this, simply apply a few drops of e-liquid directly onto the exposed wicking holes of the new coil. This process saturates the wick material, allowing it to absorb liquid effectively when you use the tank.
With the new coil primed, insert it into the tank base until you hear a click. Ensure it is seated properly to avoid leaks. Once secured, reattach the top cap of the Nautilus K3 and fill the tank with your preferred e-liquid. Allow the new coil to sit for about ten minutes to fully saturate before using your device, thus ensuring a smooth vaping experience as well as prolonging the lifespan of your new coil.
Maintaining Your Nautilus K3 Coils for Longevity
To maximize the lifespan of your Aspire Nautilus K3 coils, it is essential to adhere to specific maintenance practices. Regular upkeep not only extends the life of the coils but also enhances the overall vaping experience by reducing the risk of burnt tastes and ensuring consistent flavor. One of the most critical aspects of maintaining your Nautilus K3 coils is cleaning. While coils are designed for longevity, they can accumulate residue over time from the e-liquids used. A simple cleaning process involves rinsing the coil under warm water to remove any buildup, followed by thorough drying. This method helps preserve the integrity of the coil materials and prevents flavor contamination.
Another essential factor to consider is the wattage settings of your device. Each coil type has an optimal wattage range that should be adhered to for efficient performance. Operating your Nautilus K3 coils within this specified range aids in preventing overheating, which can lead to burnt coils and an unpleasant vaping experience. It’s advisable to start at the lower end of the wattage range and gradually increase until you find a comfortable setting that suits your vaping preference.
The frequency of use also plays a significant role in coil longevity. Frequent use can lead to quicker degradation, while occasional use may extend the lifespan of the coils. Moreover, the choice of e-liquids can impact the overall condition of the coils. Liquids with higher sweetness levels or those containing sweeteners may contribute to more significant buildup on the coils, necessitating more frequent cleaning. In contrast, opting for clear e-liquids can help maximize coil life. By integrating these maintenance practices, including cleaning, proper wattage settings, and mindful liquid choice, users can significantly prolong the life of their Nautilus K3 coils, ensuring an enjoyable vaping experience.
Common Issues and Troubleshooting with Nautilus K3 Coils
Vapers using the Aspire Nautilus K3 coils may encounter several common issues that can affect their vaping experience. One of the most frequently reported problems is leakage. This can often be attributed to incorrect coil installation or over-tightening the tank. To troubleshoot this issue, ensure that the coil is properly seated in the base and that all components of the tank are securely tightened, but not overly so, as excessive force can cause damage. If the problem persists, inspect for any worn seals or cracks in the tank that might require replacement.
Another issue reported by users is experiencing a burnt taste, which can occur for various reasons. Burnt taste often indicates that the coil has been overheated, typically due to inadequate e-liquid saturation. To prevent this, it is advisable to prime new coils before use by applying a few drops of e-liquid directly onto the cotton. Additionally, ensure that the wick is adequately saturated by allowing the tank to sit for several minutes post refilling. If the burnt taste persists, this may indicate that the coil has reached the end of its lifespan, necessitating a replacement.
Decreased vapor production is also a concern for many users. This could signify that the coil is clogged or needs replacement. It is advisable to clean the tank and mouthpiece regularly to prevent build-up. If decreased vapor continues despite cleaning, consider replacing the coil, as it may have reached its maximum usage limit. Understanding when to replace a coil is crucial; as a general rule, if you notice any of these issues consistently, it may be time to change it. We encourage readers to share their experiences and effective solutions in the comments, fostering a community of knowledge and support among vapers.
Most Powerful
Powerbank
Shop Now


